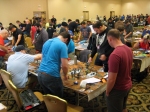
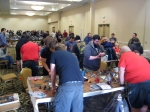
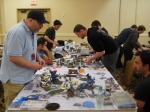
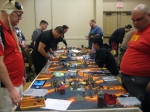
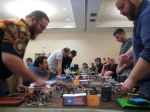
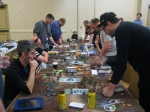
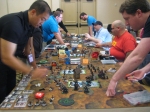
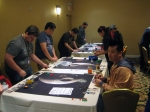
There are several players in my local meta that have spent years building all kinds of magnetic cases. So I decided to poke and prod their brain about it. A big shout out goes to Dustin, Trevor, and Michael for the inspiration and knowledge dropped on my head. Let’s get straight into it shall we!
SUPPLIES & TOOLS NEEDED
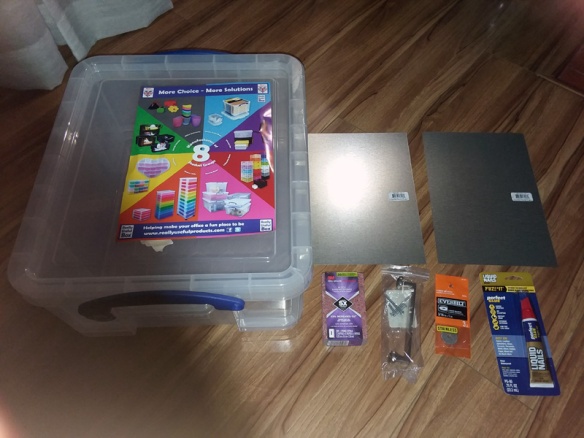
It should cost you around $40-$45 (not including magnets). I got the really useful box from Orchard Supply Hardware and everything else from Home Depot in the USA.
- Really Useful Box (There seems to be a standard “footprint” for a certain size range. I used a 18L, while others have used 21L or smaller. It really depends on how much height you want, so it’s best to measure your tallest model so see which size box suits your needs.) – $14-$18
- 2 pieces of Galvanized Steel Flashing Shingle – $2
- 2 bottles of Liquid Nails Perfect Glue(Home Depot) (Amazon)– $8-11 (1 bottle per shingle sheet)
- Cabinet Handle and hardware of your choice – $4-$8
- Some extra #8-32 mechanical screws 3/8″ long in case your cabinet hardware screws are too long – $1
- 2-4 washers that fit your mechanical screws above – $1-$2
- Sandpaper or sanding sponge with a low grit count – $4
- 2 adjustable flat strap bungee cords (30″ bungee cords fit the 18L box) – $7
- Dremel or Powerdrill with a proper sized bit for mechanical screws (5/32″ works for #8-32 sized screws)
- Rare earth magnets (I prefer 1/4″ x 1/16″ discs because they fit under most bases without extruding out). You can also get these on ebay for cheaper (usually 100 for $10 or less).
There are a lot of handles you can choose from!
DIRECTIONS
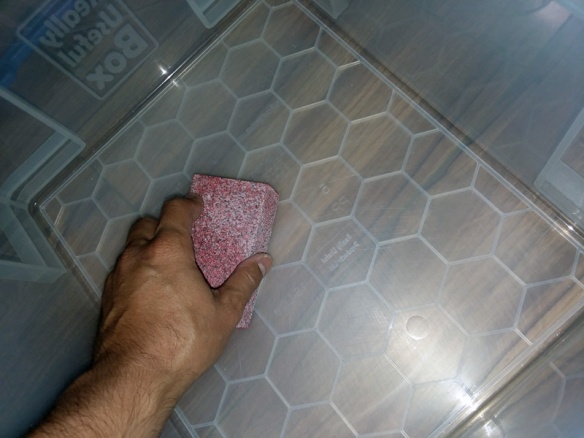
STEP 1 – Sand the inner bottom of the case to create some texture for the glue to grip better.
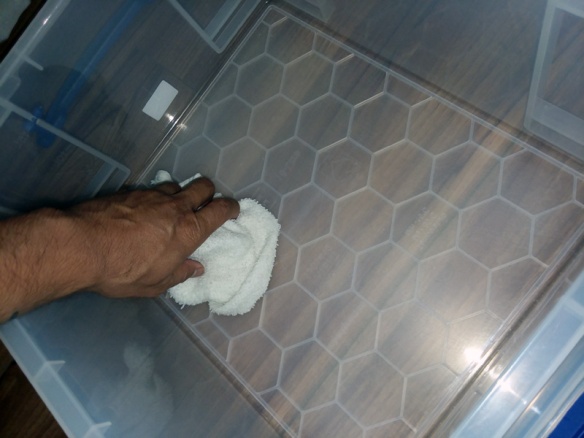
STEP 2 – Get rid of the shavings and use a wet towel to clean any residue off.
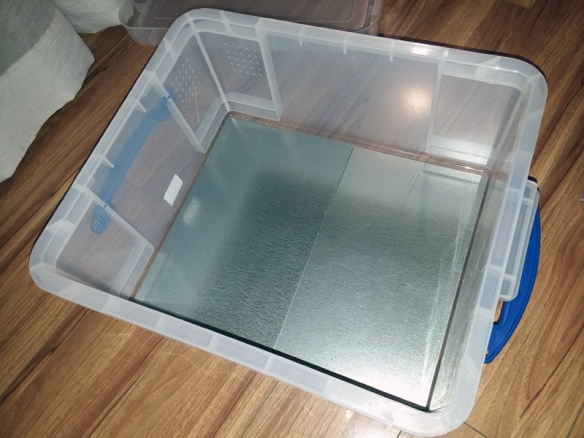
STEP 3 – The footprint of the box where you will be applying the glue should be around 12″x15″. Apply the glue and spread it around (using the perfect glue cap) to get as much coverage as possible. Then place the shingles centering on the raised area only (They shouldn’t touch any of the inner walls as seen above). The shingles will overlap roughly 1″ over each other in the middle so be sure to save a little glue for that part.
STEP 4 – Use anything(s) heavy to apply pressure on it. It will take about 24 hours to fully cure.
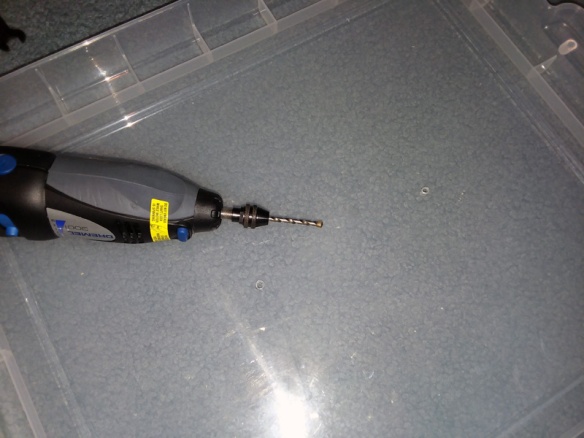
STEP 5 – Measure, mark, and center your cabinet handle screw holes. I used a Uni-ball pen so I could just wipe off the marks after. Use your dremel or powerdrill on a low setting and only apply light pressure when drilling. Let the bit do most of the work and it should eventually go through without any cracking.
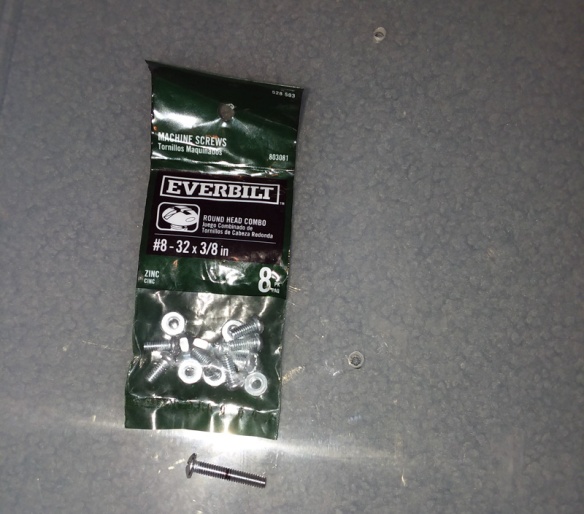
My cabinet hardware included screws that were too long. The black marks the proper depth so I had to buy some shorter ones.
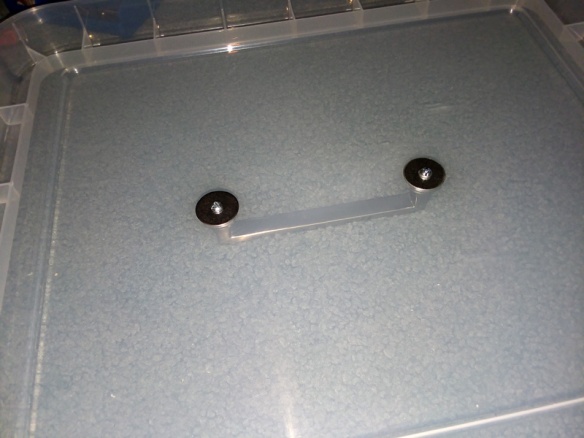
STEP 6 – Screw in your cabinet handle using the washers for the underside.
STEP 7 – Glue those magnets on. I like to use Gorilla Super Glue or Gel for this. I let them also sit on their sides for 12-24 hours.
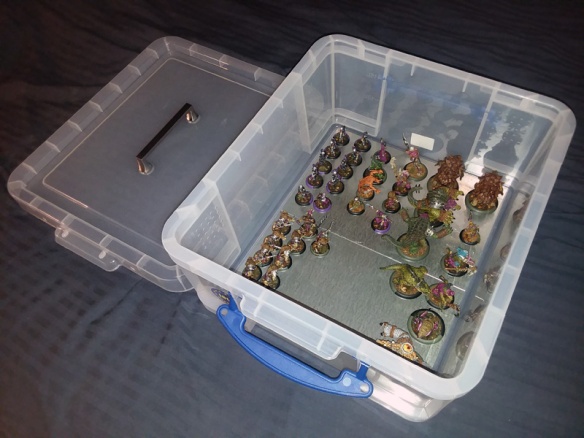
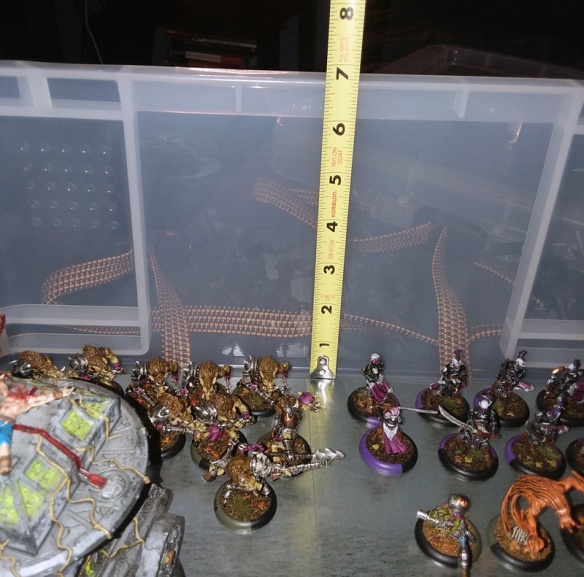
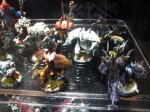
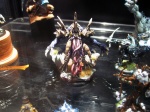
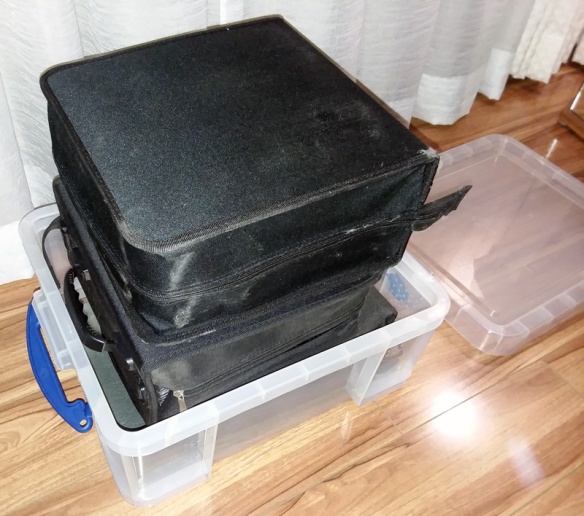
The height of the 18L box. I can fit most of the Colossals/Gargantuans/Battle Engines!
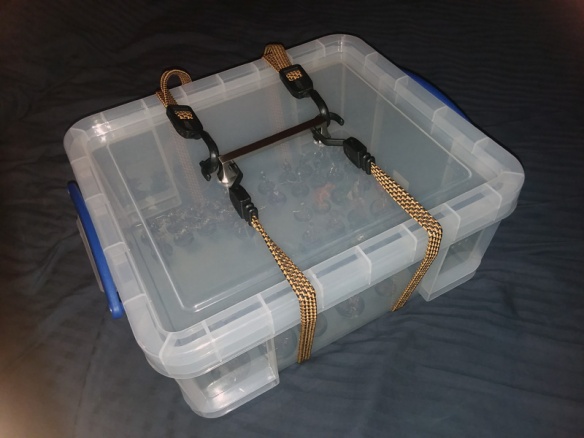
DO NOT DEPEND ON THE LOCKING HANDLES TO HOLD THE LID! BE SURE TO HOOK YOUR BUNGEE CORDS TO THE HANDLE TO INSURE MAXIMUM PROTECTION!